Optimize WordPress Performance by Offloading Media Files to External Storage
By Editorial Team |
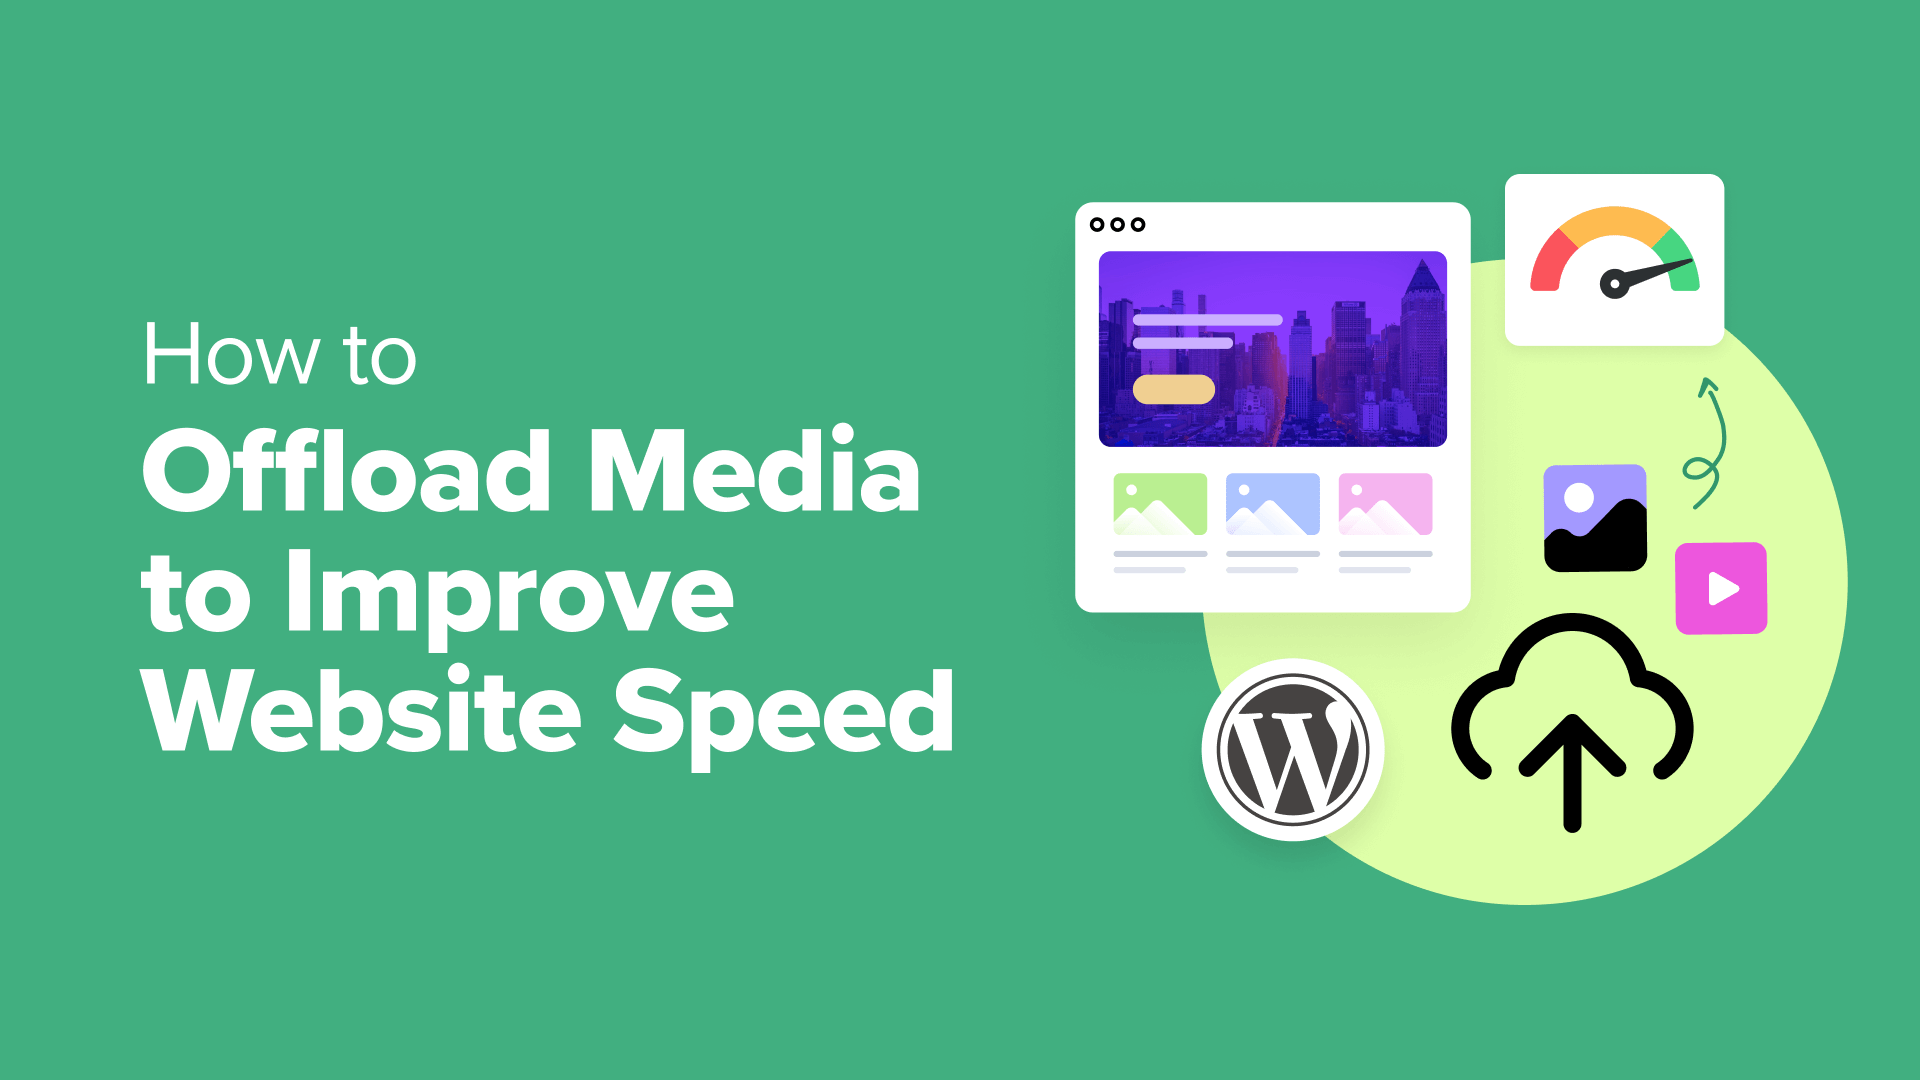
Website speed plays a critical role in user retention and search engine rankings for WordPress sites. Large media files frequently become performance bottlenecks, consuming significant bandwidth and increasing page load times.
Based on extensive experience managing numerous WordPress installations, moving media files to specialized external storage consistently delivers measurable performance improvements. This approach reduces server load while accelerating content delivery.
Many WordPress professionals utilize Content Delivery Networks (CDNs) to handle media distribution, ensuring fast loading experiences for visitors across different geographical locations.
This comprehensive guide outlines proven techniques for transferring WordPress media to external storage solutions to enhance website performance.
How Media Offloading Enhances WordPress Performance
Consider media offloading as relocating heavy storage items from your primary living space to a dedicated storage facility. Instead of keeping all images, videos, documents, and other substantial files on your web hosting server, you store them on external servers specifically optimized for media delivery.
When visitors access your website, your web server no longer needs to process and deliver these large media files. It can instead concentrate on loading your site's core content and functionality. This results in significantly faster page loading and a smoother browsing experience for users.
Through extensive WordPress management experience, media offloading consistently produces noticeable speed enhancements. Your hosting server experiences reduced strain, bandwidth consumption decreases, and your site can accommodate more simultaneous visitors without performance degradation.
Several effective approaches exist for media offloading:
- Cloud storage platforms such as Amazon S3 or Google Cloud Storage securely store your files on powerful external servers
- Content Delivery Networks (CDNs) distribute cached copies of your media across worldwide server networks for rapid delivery
- Specialized video hosting services like YouTube or Vimeo manage your video content while you embed them directly on your site
Many experienced developers utilize CDN services like Cloudflare. Media files become automatically distributed across multiple global servers, substantially reducing loading times and improving WordPress performance regardless of visitor location.
Media offloading functions most effectively as part of a comprehensive performance optimization strategy. Combining this approach with quality hosting, regular WordPress maintenance, and other performance techniques yields maximum results.
Ready to begin? Let's examine the most efficient methods for transferring your WordPress media to external storage and boosting site performance:
- Transfer WordPress Media Using Envira CDN (Simplest Approach)
- Transfer WordPress Media Using WP Offload Media (Free Version)
- Transfer WordPress Media Using WP Media Folder (Premium Version)
- Transfer WordPress Videos Using Streaming Services
- Transfer WordPress Media Using Cloudflare CDN
- Additional Tip: Optimize Images Before Transfer for Enhanced Performance
- Common Questions About WordPress Media Offloading
- Further Reading
Transfer WordPress Media Using Envira CDN (Simplest Approach)
For the most straightforward method to relocate your media files, many WordPress experts recommend Envira CDN.
While numerous approaches require complex technical configuration involving cloud storage setup or nameserver adjustments, Envira CDN simplifies the entire process considerably.
This solution transfers your images to a global network with minimal configuration directly from your WordPress administration panel, requiring no specialized technical knowledge.
This efficient CDN extension was developed by the team behind the popular Envira Gallery plugin. However, it functions with any WordPress installation, optimizing all images within your Media Library, not exclusively those utilized in Envira galleries.
Installing the Envira CDN Extension
First, visit the Envira Gallery website, select 'Envira CDN' from the navigation menu, and click the 'Get Envira CDN Now' button.
From that point, choose an appropriate plan for your requirements and complete the purchase process.
Following purchase completion, you can download the plugin file and retrieve the license key from your account section.
Next, install and activate the Envira CDN extension on your WordPress site. If assistance is needed, consult standard WordPress plugin installation documentation.
Activating the CDN and Transferring Images
After activation, navigate to the Envira CDN section within your WordPress dashboard. Once there, select the 'License' tab.
Then, input your license key in the designated field and click the 'Verify Key' button.

After license verification completes, configure Envira CDN to transfer your images and enhance site performance.
To accomplish this, select the 'Settings' tab and toggle the 'Enable CDN' switch to the ON position.

Subsequently, a 'Bulk Offload Images' button will appear.
Click this button to migrate all existing images within the WordPress Media Library to the CDN.

Please note this process may require several minutes to complete, particularly with extensive media libraries.
Configuration is now complete. Envira CDN is fully operational. All existing images have been transferred, and any new media uploads will automatically serve from Envira's global network spanning over 335 locations.
Transfer WordPress Media Using WP Offload Media (Free Version)
WP Offload Media represents a widely-used free WordPress cloud storage extension that automatically duplicates your images, videos, documents, and other media files to your selected cloud storage provider.
The complimentary version functions with Amazon S3. For alternative providers like Google Cloud Storage or DigitalOcean Spaces, the premium version becomes necessary. You must carefully establish and configure your cloud storage account, then install, activate, and configure the extension.
Configuring Your Cloud Storage Account
If you lack an existing cloud storage service, your initial task involves selecting one and registering for an account.
The WP Offload Media website provides helpful documentation regarding setup procedures for different cloud storage options. This tutorial demonstrates transferring WordPress media files to Amazon S3 cloud storage.
You can register for a complimentary account at the Amazon Web Services website. While account registration is free, credit card information becomes necessary during setup.
Alternatively, with an existing account, simply click the 'Sign in to an existing AWS account' button and enter your credentials.
Next, establish a User account to obtain access credentials. Open the Amazon Web Services Users page and click the 'Create user' button.

On the subsequent screen, specify user details. Add a name in the User field. Many developers recommend using the format yourdomain-offloadwordpressmedia.
This approach offers the advantage that creating additional users for other websites later allows easy identification of the associated website and purpose.
Ensure you do not select the 'Provide user access to the AWS Management Console' checkbox, then click the 'Next' button to proceed.

Next, grant this new user permission to access Amazon S3 storage and transfer your WordPress media files.
At the page top, choose the 'Attach policies directly' option. This displays a list of permission policies available for individual selection.


