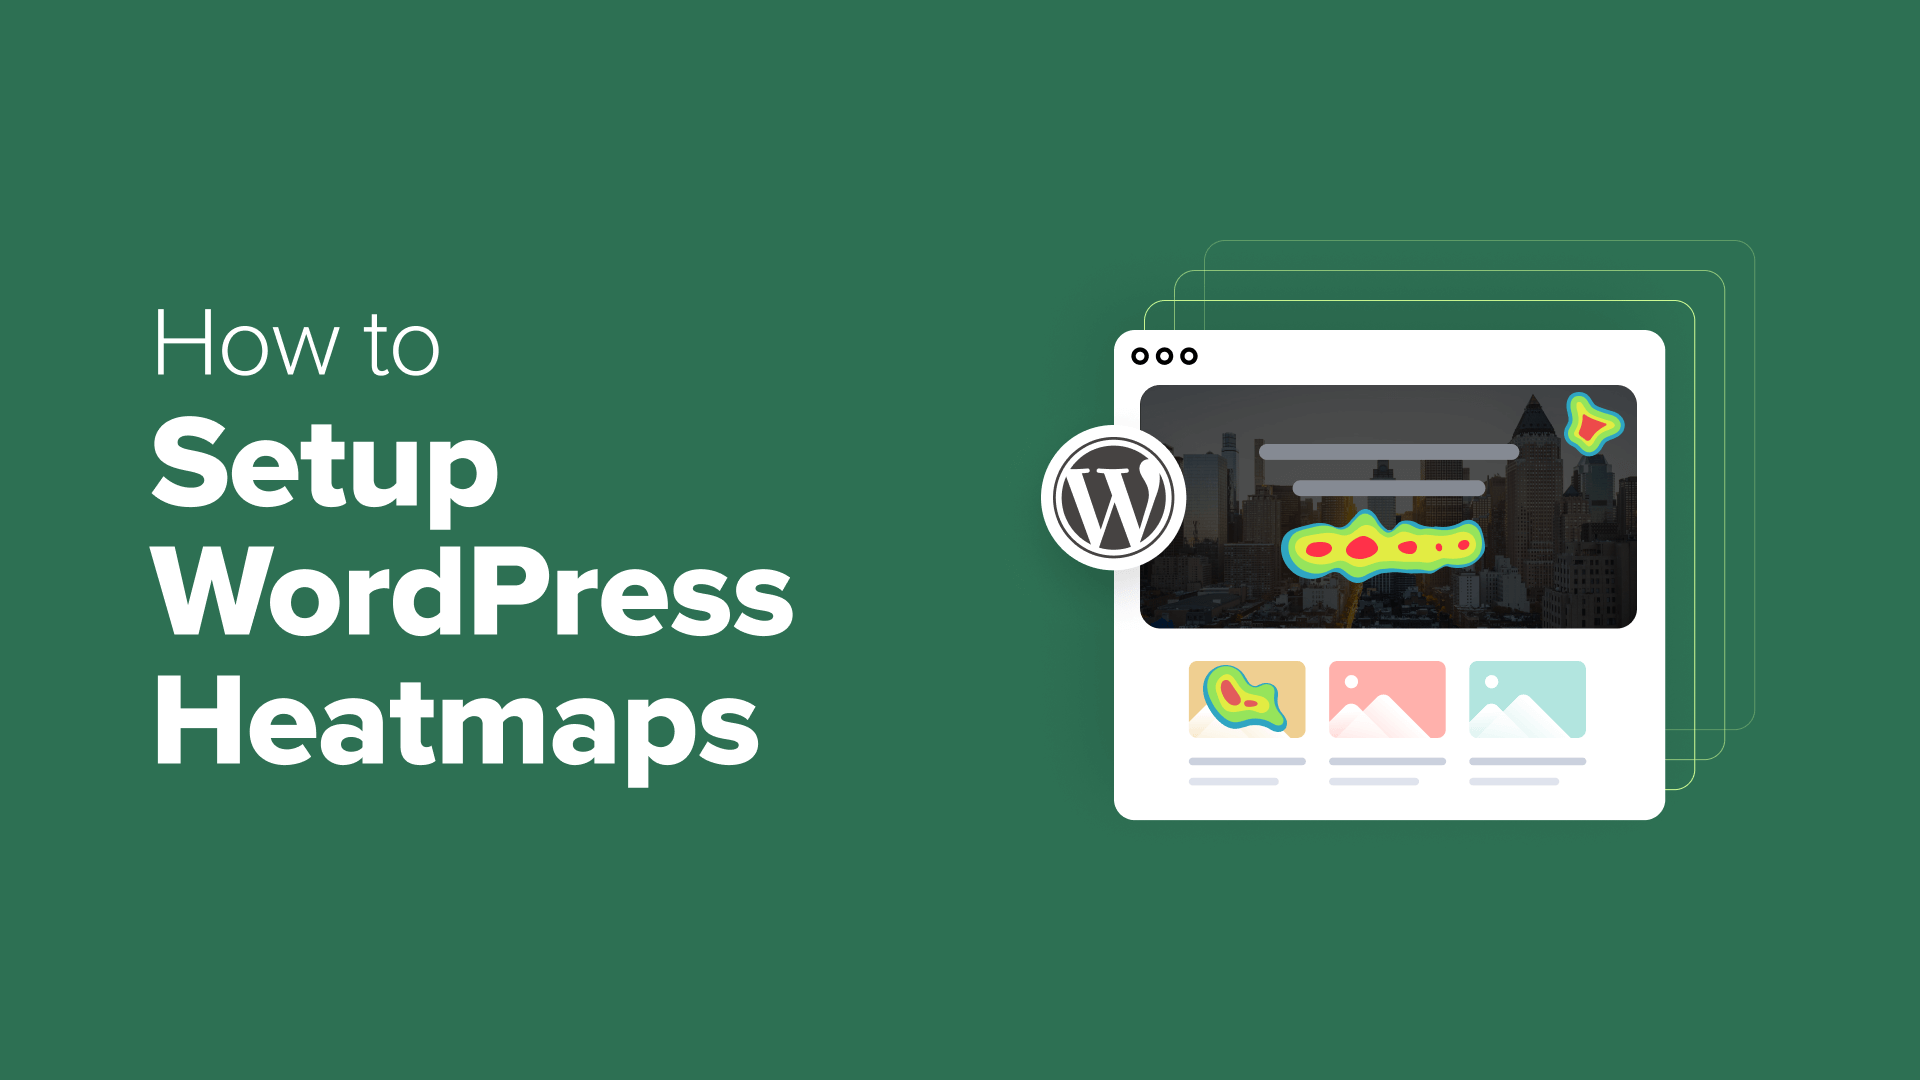
Implementing WordPress Heatmaps: Two Practical Methods for User Behavior Analysis
Many website owners initially rely on assumptions about visitor preferences. The introduction of heatmap technology provides concrete evidence of user interactions, revealing precise clicking patterns, scrolling depth, and attention distribution across web pages.
For WordPress administrators seeking to enhance site performance through data-driven decisions, heatmaps offer valuable behavioral insights.
After evaluating multiple solutions, two effective approaches for implementing heatmaps in WordPress have emerged: Microsoft Clarity and UserFeedback.
This comprehensive guide details both implementation methods, providing the necessary tools for making informed website improvements based on actual user behavior.
Understanding the Value of WordPress Heatmaps
Heatmaps visually represent user interactions through color-coded displays, enabling data-informed decisions regarding content placement, layout adjustments, and conversion optimization. These visualizations highlight activity levels across different page sections:
- Warm colors (red, orange, yellow) indicate areas receiving significant clicks, taps, or prolonged attention.
- Cool colors (blue, green) represent sections with minimal user engagement.
By visualizing this behavioral data directly on your WordPress interface, you can replace speculation with evidence-based understanding of what elements perform effectively.
Heatmaps address critical questions about user experience:
- Do visitors interact with call-to-action elements?
- How far do users scroll through content sections?
- Are users attempting to click non-functional elements?
These insights facilitate targeted improvements to website structure and content presentation.
The resulting data can be applied to increase readership, enhance sales conversions, or generate more client inquiries through adjustments aligned with actual user behavior patterns.
The following sections demonstrate two reliable approaches for implementing heatmap functionality, including one completely free analytics solution and one premium option with additional capabilities.
Preliminary Considerations for Heatmap Implementation
Before integrating heatmap functionality, several preparatory measures ensure optimal data collection and prevent potential issues.
When implementing heatmaps on an active website, experienced developers recommend initial testing on a staging environment. A staging site provides a private duplicate of your production website where new features can be evaluated without affecting live user experiences.
Many hosting providers include staging functionality within their control panels. For hosts without built-in staging capabilities, dedicated WordPress plugins can create staging environments.

Additionally, creating complete website backups before implementing significant changes provides restoration capability if unexpected issues arise.
While heatmaps provide valuable behavioral insights, they function most effectively when combined with complementary analytics tools and user feedback mechanisms. Consider heatmaps as one component within a comprehensive user experience analysis strategy.
Method 1: Microsoft Clarity Implementation
Microsoft Clarity represents a free, user-friendly heatmap and session recording solution with WordPress integration capabilities. This approach suits general website analysis requirements and works particularly well for beginners, content publishers, and small businesses seeking automated visitor interaction insights.
Account Creation Process
Begin by visiting the Microsoft Clarity website and selecting the registration option. The registration interface provides authentication through Microsoft, Facebook, or Google accounts.

After authentication, proceed through the confirmation interface and complete email verification. Review the service terms before continuing.

Next, establish a new project for your WordPress installation by providing a project name, website URL, and relevant industry classification.

WordPress Plugin Installation
Within your WordPress administration panel, navigate to the plugin management section and search for the Microsoft Clarity plugin. Install and activate the plugin, then configure the connection using the project credentials from your Clarity account.
Method 2: UserFeedback Implementation
UserFeedback provides a comprehensive solution combining heatmap functionality with user survey capabilities. This approach suits organizations seeking integrated behavioral analysis and direct user feedback collection.
Plugin Installation and Configuration
Begin by installing the UserFeedback plugin through the WordPress plugin directory. After activation, enable the heatmap extension within the plugin settings interface.
Heatmap Creation Process
Access the heatmap creation interface within the UserFeedback dashboard. Configure tracking parameters for specific pages or site sections, then activate data collection.
Data Analysis and Interpretation
After sufficient data accumulation, review heatmap visualizations through the UserFeedback analytics interface. These displays reveal interaction patterns that inform website optimization decisions.
Optimizing Heatmap Insights
Effective heatmap implementation extends beyond basic setup to include strategic data application.
Addressing User Abandonment Points
Identify scrolling depth patterns to determine where visitors disengage from content. Adjust content presentation or layout to maintain user interest through critical sections.
Resolving Interface Confusion
Analyze click patterns on non-interactive elements to identify interface misunderstandings. Clarify visual cues or adjust element placement to improve user comprehension.
Enhancing Navigation Effectiveness
Evaluate menu and link interaction patterns to optimize navigation structure. Ensure important pathways receive appropriate visual prominence and accessibility.
Optimizing Call-to-Action Elements
Assess interaction rates with conversion-focused elements. Adjust positioning, coloration, or messaging to increase engagement with key action prompts.


