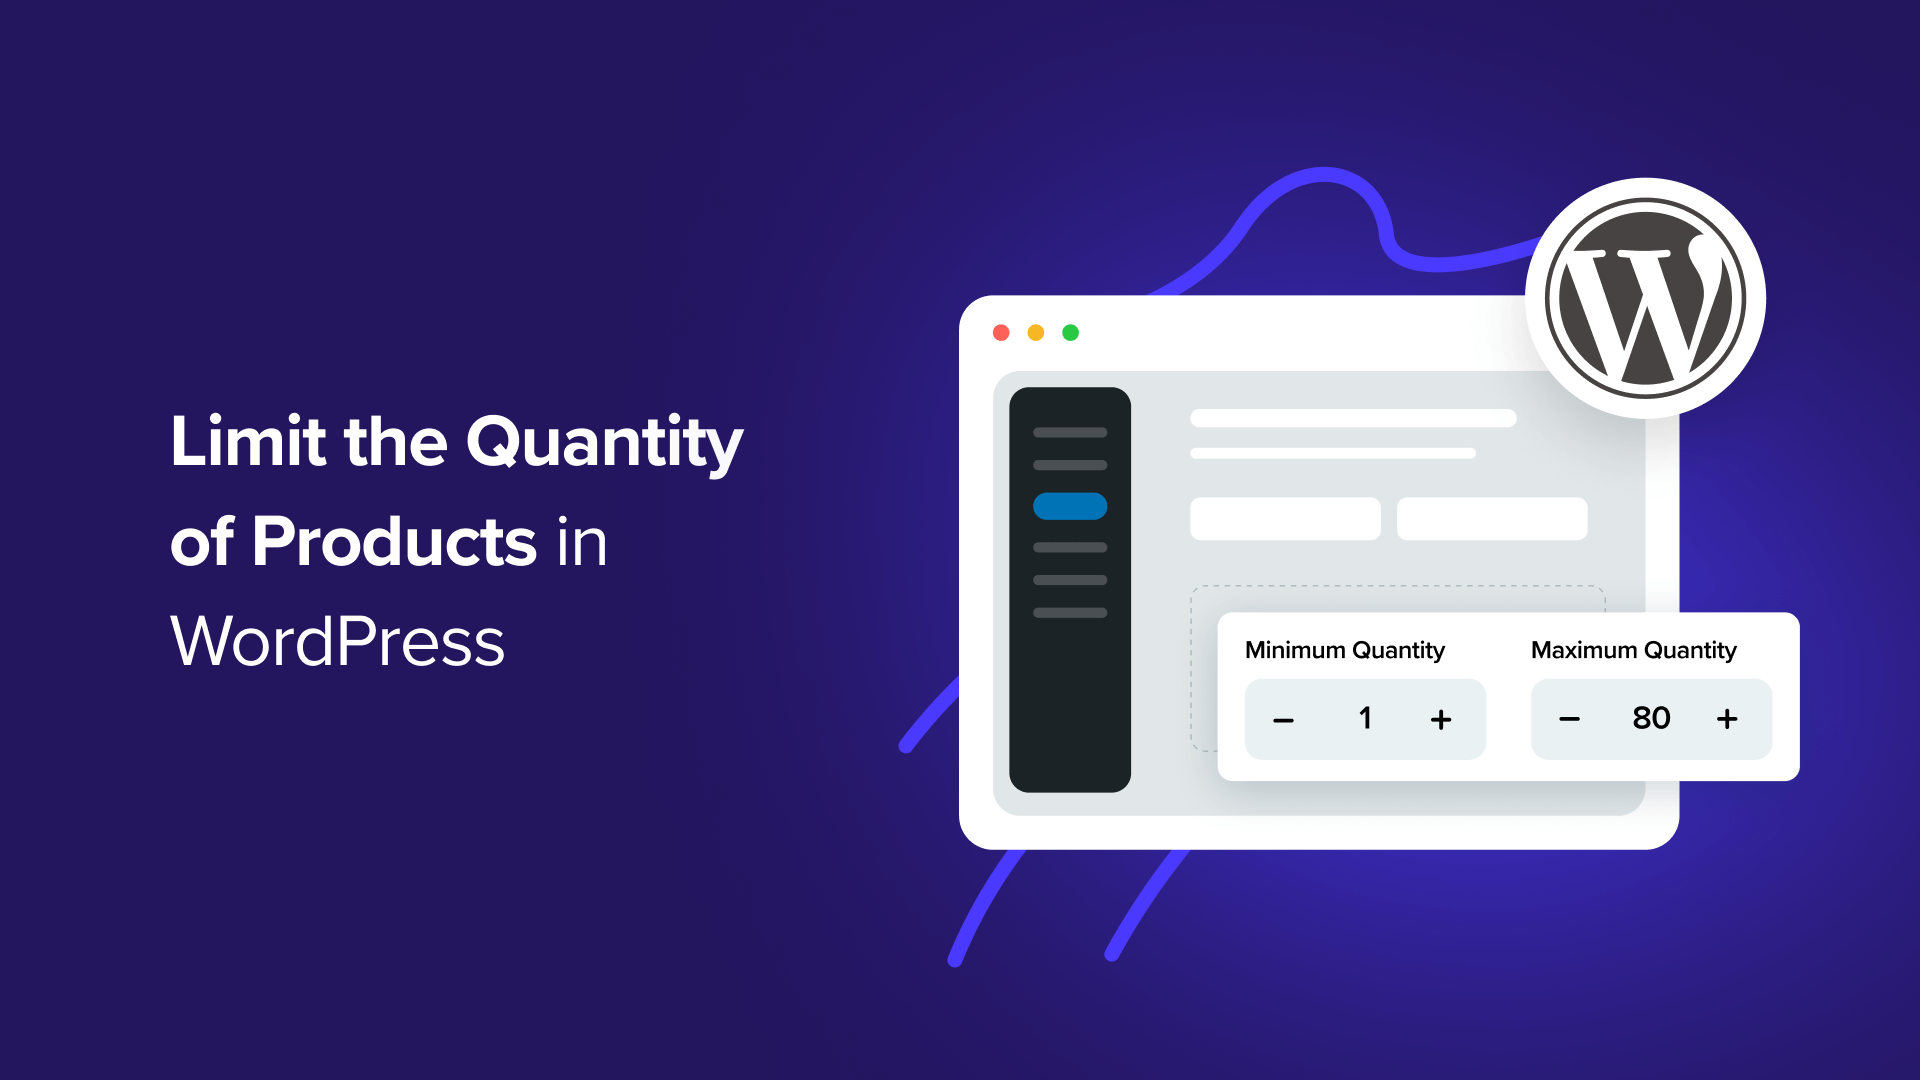
Step-by-Step Guide to Setting Purchase Quantity Limits in WordPress
Many online retailers achieve optimal inventory management through strategic purchase restrictions. This approach helps maintain product availability, prevents stock depletion, and creates a balanced shopping experience for all customers.
Implementing quantity limitations represents a fundamental strategy for enhancing store performance. Properly configured purchase rules can prevent inventory shortages, encourage desirable purchasing behaviors, and potentially increase product perceived value.
Numerous store operators have significantly improved their business operations by implementing appropriate quantity controls.
This comprehensive guide will demonstrate multiple approaches to establishing purchase quantity restrictions within WordPress. You'll learn practical techniques suitable for various types of online businesses.
Benefits of Implementing Purchase Quantity Restrictions
Effective inventory control significantly impacts customer satisfaction and business reputation. Establishing purchase limits ensures product availability for all shoppers and prevents overselling situations.
By capping the number of units customers can purchase simultaneously, you promote equitable product distribution. This approach allows more shoppers to obtain desired items, reduces out-of-stock occurrences, and fosters fair purchasing opportunities.
Without appropriate restrictions, a small number of large-volume buyers could dominate purchases, potentially frustrating other customers who might then seek alternatives elsewhere. Quantity limitations also facilitate better inventory management and ensure broader customer access to products.
Below are three methods for implementing purchase quantity restrictions in WordPress:
- Method 1: Establishing Purchase Limits Using WooCommerce
- Method 2: Configuring Quantity Restrictions With WP Simple Pay
- Method 3: Setting Purchase Limits With Easy Digital Downloads
Method 1: Establishing Purchase Limits Using WooCommerce
Most online retailers managing physical inventory require quantity restrictions to prevent stock depletion and ensure order fulfillment.
For basic single-item restrictions, WooCommerce includes a built-in 'Sold Individually' feature accessible through the Inventory tab within product data settings.

For more specific limitations, such as minimum or maximum purchase quantities, the Min/Max Quantities extension provides additional functionality.
This demonstration utilizes the extension to illustrate specific rule configuration. Begin by navigating to Products » All Products within your WordPress dashboard, then select 'Edit' for the product requiring restrictions.

Scroll to the Product Data section and locate the General tab. Here you'll find fields for entering minimum and maximum quantity values.
The 'Group of' setting enables requirement of specific purchase multiples, such as mandating purchases in sets of five or ten units.

After configuring your desired restrictions, save the product to activate the purchase limitations.
Method 2: Configuring Quantity Restrictions With WP Simple Pay
For websites requiring payment processing without full e-commerce functionality, WP Simple Pay offers streamlined solutions for product sales and service offerings.
This payment processing tool facilitates one-time and recurring payments without traditional shopping cart implementation. Many developers find it reliable for various transactional needs.
Several practical applications benefit from WP Simple Pay's quantity limitation capabilities:
- Event registration: Automatically close registration forms when reaching venue capacity to prevent overselling
- Appointment scheduling: Limit service bookings to maintain manageable schedules and prevent overbooking
- Membership management: Restrict total signups to maintain community exclusivity or operational capacity
Begin by installing and activating the WP Simple Pay plugin. Upon activation, the setup wizard will guide you through Stripe integration.
Select 'Let's Get Started' to initiate the connection process between your WordPress site and Stripe payment processing.
Click 'Connect with Stripe' to establish the integration.

Create a new Stripe account or connect an existing account by entering your email credentials and selecting 'Connect.'

After successful Stripe integration, create an order form with purchase quantity limitations by navigating to WP Simple Pay » Add New.
Select from available pre-built templates. This demonstration utilizes the payment form template - hover over 'Payment Form' and select 'Use Template.'

The General settings page allows customization of form title, description, and form type according to your requirements.
Choose 'On-site payment form' for hosting forms on your website, or select 'Off-site Stripe checkout' for utilizing Stripe's hosted checkout pages.

Navigate to the Payment tab to configure price options and establish quantity limitations for your products or services.