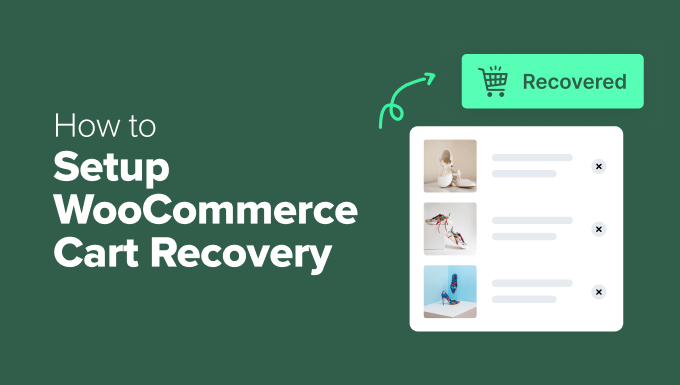
Step-by-Step Guide to Implementing Snapchat Pixel Tracking for WooCommerce Stores
Many WordPress experts have observed that numerous e-commerce businesses launch Snapchat advertising campaigns without proper tracking mechanisms in place.
Stores that implement accurate pixel tracking typically experience up to 30% improvement in advertising performance metrics.
The implementation challenge extends beyond simple code insertion—it requires configuring the pixel to monitor relevant events and generate precise campaign data.
After assisting numerous store administrators, experienced developers have established a reliable approach for configuring Snapchat pixel integration.
This comprehensive tutorial will guide you through the complete process of integrating Snapchat pixel functionality with your WooCommerce platform.
Understanding Snapchat Pixel Functionality and Benefits
The Snapchat pixel consists of JavaScript code integrated into your website to monitor visitor interactions with your content. This connection between your WordPress installation and Snapchat's advertising platform enables measurement of campaign effectiveness.
When users click your advertisements and access your store, the pixel transmits their activity data back to your analytics dashboard. This visibility allows identification of which advertisements generate revenue, facilitating optimization of marketing expenditures.
Primary advantages of implementing Snapchat pixel tracking include:
- Conversion Monitoring: Track specific actions including purchases and registrations to determine which campaigns produce financial returns.
- Audience Targeting: Create custom audience segments based on visitor behavior patterns, enabling targeted advertising to users who viewed products without completing transactions.
- Cross-Channel Marketing Enhancement: Combine Snapchat analytics with other measurement tools to gain comprehensive understanding of customer pathways.
- Performance Optimization: Utilize real-time data tracking to rapidly adjust strategies, reallocating budgets from underperforming advertisements to successful campaigns.
Trackable Events for WooCommerce Snapchat Pixel Integration
Integrating Snapchat pixel functionality with your WooCommerce store provides valuable insights into user engagement patterns. Key trackable events include:
- Page view: When visitors access specific pages on your website.
- Add to cart: When users place items in their shopping carts.
- Initiate checkout: When customers begin the checkout procedure.
- Purchase: When transactions complete and users reach confirmation pages.
- Search: When visitors utilize search functionality to locate products.
- View content: When users examine specific content such as articles or product information.
- Sign-up: When individuals register for accounts or subscribe to communications.
Beyond event tracking, the Snapchat pixel collects detailed user information including product identifiers, pricing data at event occurrence, unique transaction identifiers, currency information, and product categorization.
The pixel also gathers user data including email addresses for marketing initiatives, telephone numbers for personalized outreach, and IP addresses for geographical identification.
This guide presents two implementation methods for integrating Snapchat pixel functionality with WooCommerce stores. Use the following navigation to access your preferred approach:
- Creating Your Snapchat Pixel
- Method 1: Implementation Using WPCode
- Method 2: Implementation Using FunnelKit Automation
- Verifying Pixel Functionality
- Additional Optimization Recommendations
- Common Implementation Questions
Before proceeding with implementation methods, establish your Snapchat Pixel configuration.
Creating Your Snapchat Pixel
Begin by accessing your Snapchat Ad Manager account. New users must establish accounts by providing business details including name, email address, and country information to access the administrative interface.

After entering required information, select the 'Create a Business' option.

Proceed to the 'Complete your Public Profile' section, verify username and profile image accuracy, then select 'Create Public Profile.'

Select appropriate advertising objectives from five available options:
- Web visits: User clicks generating website traffic.
- My brand on Snapchat: Interactions with brand profiles including views and subscriptions.
- Calls & texts: Direct communication initiation through advertisement clicks.
- App installs: Mobile application installations following advertisement engagement.
- App visits: Mobile application openings resulting from advertisement interactions.
For WooCommerce performance tracking, select 'Web Visits' and enter your website address in the designated field.

Navigate to the top-left dropdown menu, select 'Events Manager' within the 'Assets' section to access pixel management functionality.

The subsequent screen presents options for pixel creation or application connection. Select the 'New Event Source' button.

When the configuration window appears, select appropriate event source type. For WooCommerce interaction tracking, choose 'Web' and proceed by clicking 'Next.'

Assign a descriptive name to your pixel, typically incorporating your store name for easy identification.