Step-by-Step Guide to Implementing WooCommerce Order Bumps for Increased Sales
Many eCommerce store owners initially focus solely on their primary products, overlooking additional revenue opportunities. This was a common oversight in early online retail experiences, where the potential of strategic add-ons remained untapped.
For WooCommerce store operators who haven't yet implemented order bumps, there exists a straightforward method to enhance sales performance. These checkout enhancements function similarly to impulse purchase items positioned near physical store registers—strategic supplementary offers that customers can add with minimal effort during the final purchase stage.
This comprehensive tutorial demonstrates how to establish effective order bump functionality within WooCommerce. The instructions are designed to be accessible for users at all technical skill levels.
Understanding Order Bumps
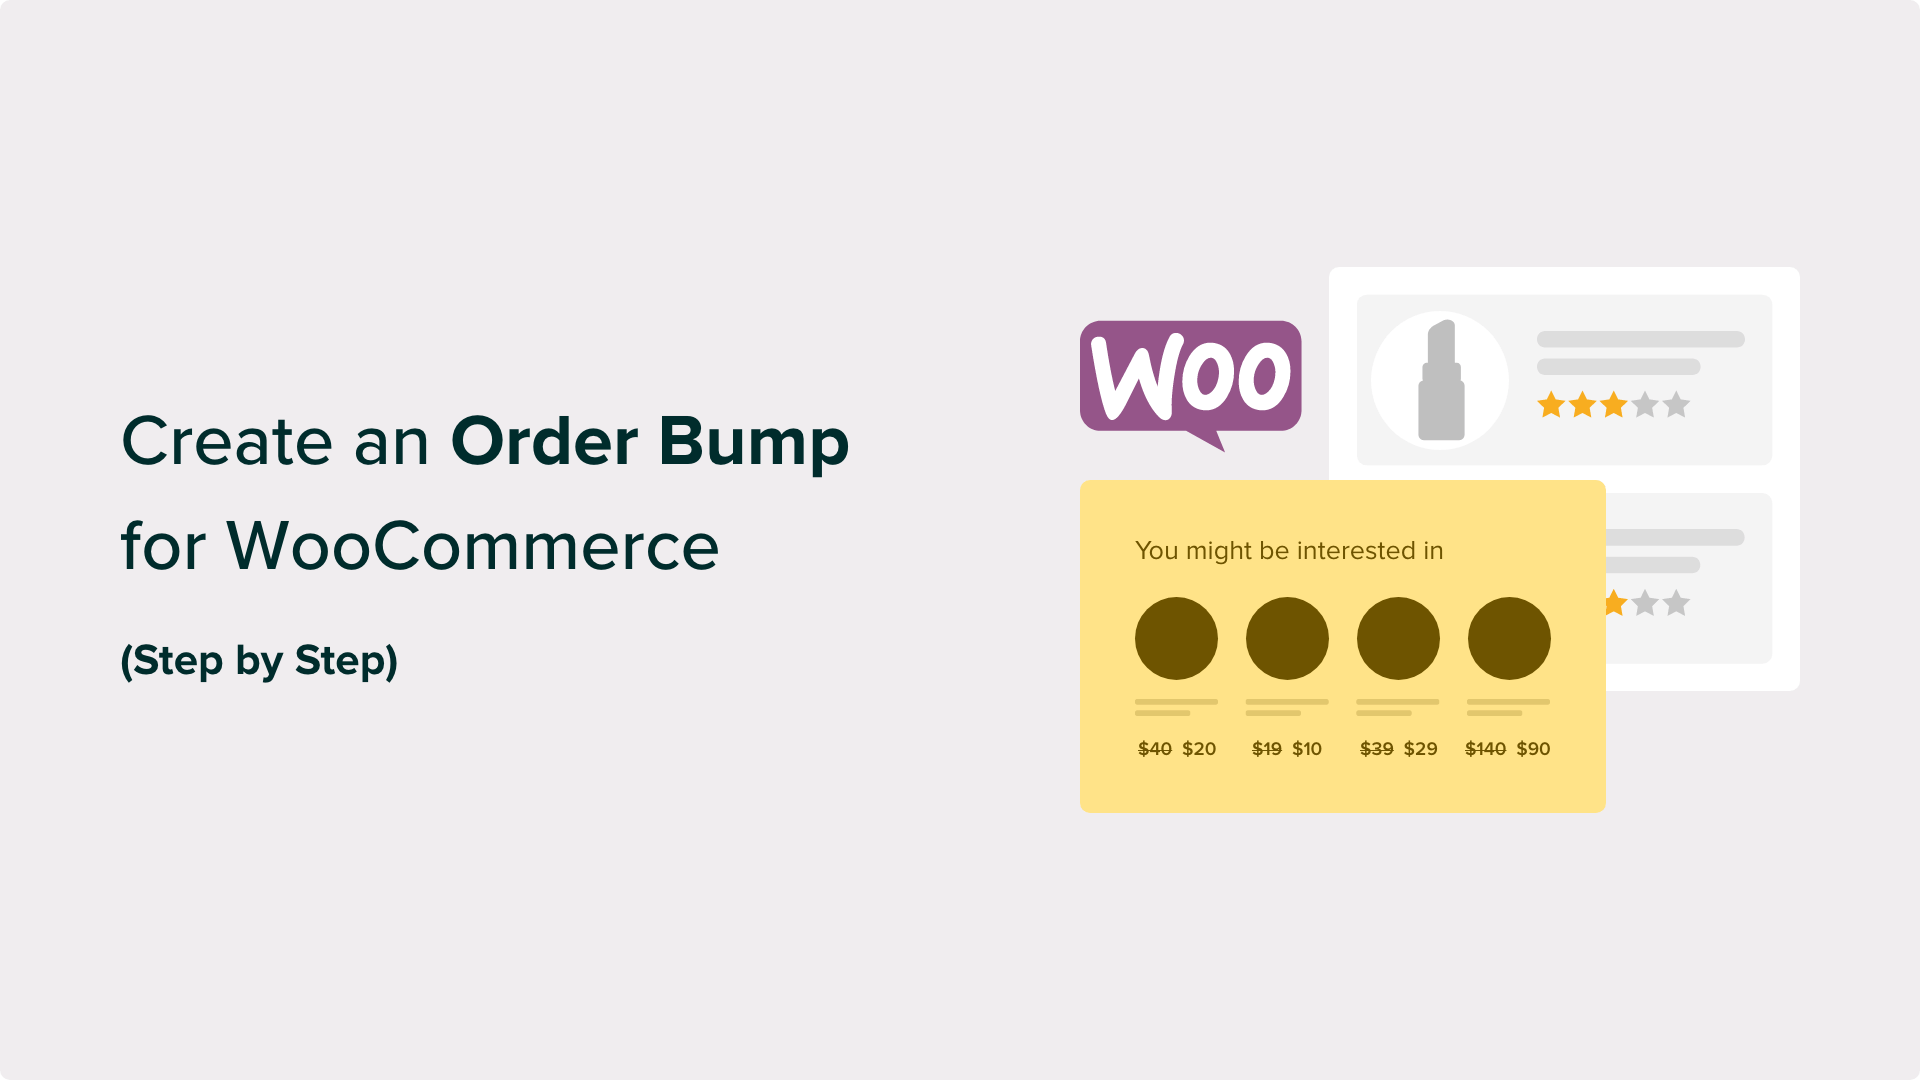
An order bump represents a strategic sales technique that presents customers with supplementary product options during the checkout process. This approach resembles the familiar "Would you like to add this?" suggestion commonly encountered in retail environments, adapted for digital storefronts.
When shoppers reach the WooCommerce checkout interface, they encounter a straightforward order bump featuring a complementary product. This presentation enables customers to effortlessly include additional items in their purchase with a single selection.
Store administrators sometimes confuse order bumps with upselling and cross-selling techniques. While all three methods aim to increase average transaction values, they operate through different mechanisms:
- Order Bump: A relevant supplementary item presented directly on the checkout page before payment completion. For example, suggesting a protective case when purchasing a smartphone.
- Upsell: An offer to upgrade to a premium version of a product, typically presented after initial purchase completion. This might involve suggesting a professional edition for a modest additional cost.
- Cross-sell: Recommendations for related products displayed on product pages or within shopping cart interfaces. Common implementations include "Frequently Purchased Together" sections that bundle complementary items.
Benefits of WooCommerce Order Bumps
Properly implemented order bumps can significantly enhance sales performance without disrupting the checkout experience. However, successful implementation requires strategic product selection rather than arbitrary choices.
Recommended practices for creating effective order bump offers include:
- Select products that naturally complement items already in the shopping cart
- Price order bump items lower than the primary purchase to encourage easy addition
- Maintain simplicity and clarity in offers—single compelling products typically outperform multiple options
- Position WooCommerce order bumps where they remain visible without obstructing the checkout flow
Since WooCommerce doesn't include native order bump functionality, specialized plugins provide this capability. Numerous effective solutions exist, with one particularly accessible option suitable for various experience levels.
This tutorial covers the following implementation steps:
- Step 1: Install FunnelKit Funnel Builder
- Step 2: Customize Your Checkout Page
- Step 3: Add an Order Bump to Your Checkout
- Step 4: Customize the Order Bump Text and Image
- Step 5: Customize the Order Bump Design
- Step 6: Set Up Your Order Bump Discount
- Step 7: Set the Rules to Trigger the Order Bump
- Step 8: Monitor and Optimize Your Order Bump Conversions
- Frequently Asked Questions About WooCommerce Order Bumps
- Additional Resources to Improve Your Order Bump Performance
Let's begin the implementation process.
Step 1: Install FunnelKit Funnel Builder
Among various order bump plugins evaluated, FunnelKit Funnel Builder provides one of the most straightforward implementation approaches. This solution enables checkout optimization and sales funnel creation with minimal configuration effort.
This plugin stands out for order bump implementation due to its extensive customization options, responsive design capabilities, and compatibility with major WooCommerce product types.
Additional features include customizable checkout templates to enhance sales performance, cart abandonment recovery funnels to recapture potential revenue, and dashboard analytics for store performance monitoring.
This guide utilizes the FunnelKit Builder Plus plan, which includes order bump functionality. However, the free version offers basic WooCommerce checkout features for initial exploration.
Following purchase, you'll receive access to the plugin installation file and license key. Standard WordPress plugin installation procedures apply.
License activation requires navigating to FunnelKit settings within your WordPress dashboard, selecting the General tab, then License section. Paste your license key into the designated field, select your preferred page builder, then activate and save changes.

Step 2: Customize Your Checkout Page
With the plugin activated, proceed to configure your WooCommerce checkout interface. Navigate to FunnelKit settings, select Store Checkout, switch to the appropriate tab, and click the Create Store Checkout button.

FunnelKit provides multiple checkout templates designed to improve conversion rates. These templates support customization through standard block editors or popular page builder platforms.
Select your preferred editing platform at the page top, then preview available checkout templates. Most templates include three essential pages: checkout interface, upsell page, and thank you page.

If a template meets your requirements, select Import This Funnel. You'll then assign a name to your checkout funnel, which proves particularly useful when managing multiple funnel configurations.

After naming your funnel, click Add to proceed. To initiate customization, select the checkout name displayed above the Add Order Bump button.

You'll access various checkout page configuration options. Within the Design tab, select Edit Block Editor Template to customize using your chosen editing platform.
For comprehensive customization guidance, consult dedicated WooCommerce checkout customization resources.